How to Change KTM Clutch Plates
Share
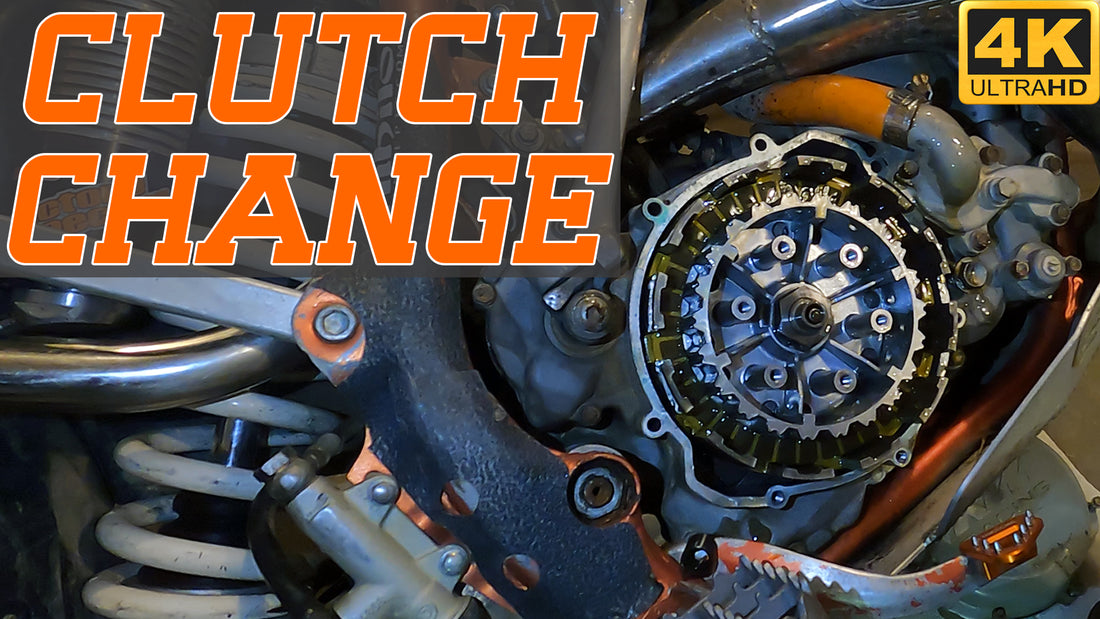
Changing your dirt bike's clutch plates may seem like an intimidating job, but it's actually quite simple. We're going to tackle this essential maintenance task: replacing the clutch plates on your KTM dirt bike. A well-functioning clutch is crucial for smooth gear changes and overall performance. Let’s dive into the process step by step:
Step 1: Soak the New Clutch Plates
-
Fiber Clutch Plates:
- Take your new fiber clutch plates and soak them in clean oil. Let them soak for at least an hour.
- Use the same oil you’ll be using in your engine.
-
Oil Maintenance:
- Warm up your bike and drain the old oil from the engine.
- Lay the bike on its left side and remove the clutch cover.
- Pay attention to the different-length bolts and washers as you remove them.
Step 3: Remove Clutch Springs and Pressure Plate
-
Clutch Springs:
- Remove the clutch springs by taking out the hex-head bolts.
- Inspect the bolts and set them aside.
Step 4: Slide Out the Steel Pins
-
Steel Pins:
- With the pressure plate off, you’ll see the steel pins that lock the plates to the inner clutch hub.
- Slide these pins out carefully and inspect them.
Step 5: Replace Old Plates
-
Old Plates Removal:
- With the cover removed, start pulling the clutch plates out and stack them in the same order they came out in case you need this as a reference later.
- The ordering of plates will vary depending on your make, model, and year of bike. Look it up in your service manual or just follow the reverse order the plates came out in.
Step 6: Stack the New Clutch Plates
-
Plate Order:
- Start with a steel plate, followed by a fiber plate, and continue alternating.
- Remember that KTM clutch packs use steel plates both inside and outside the pack.
Step 7: Reinstall
- Put in your new springs.
- Tighten the bolts in a star pattern. Torque to spec.
- Attach clutch cover and bolts.